Kasten Backup and Restore using Replicated PV Mayastor Snapshots - FileSystem
Using Kasten K10 for backup and restore operations with Replicated PV Mayastor snapshots combines the strengths of both tools, providing a robust, high-performance solution for protecting your Kubernetes applications and data. This integration ensures that your stateful applications are protected, with the flexibility to recover quickly from any failure or to migrate data as needed, ensuring your data is always protected and recoverable.
In this guide, we will utilize Kasten to create a backup of a sample Nginx application with a Replicated PV Mayastor from a cluster, transfer the backup to an object store, and restore it on a different cluster.
Requirements#
Replicated PV Mayastor#
Replicated PV Mayastor, a high-performance, container-native storage that provides persistent storage for Kubernetes applications. It supports various storage types, including local disks, NVMe, and more. It integrates with Kubernetes and provides fast, efficient snapshots and creates snapshots at the storage layer, providing a point-in-time copy of the data. These snapshots are highly efficient and consume minimal space, as they only capture changes since the last snapshot.
Make sure that Replicated PV Mayastor has been installed, pools have been configured, and applications have been deployed before proceeding to the next step. Refer to the OpenEBS Installation Documentation for more details.
Kasten K10#
Kasten K10, a Kubernetes-native data management platform that offers backup, disaster recovery, and application mobility for Kubernetes applications. It automates and orchestrates backup and restore operations, making it easier to protect Kubernetes applications and data. Kasten K10 integrates with Replicated PV Mayastor to orchestrate the snapshot creation process. This ensures that snapshots are consistent with the application's state, making them ideal for backup and restore operations. Refer to the Kasten Documentation for more details.
Details of Setup#
Install Kasten#
Install Kasten (V7.0.5) using helm. Refer to the Kasten Documentation to view the prerequisites and pre-flight checks.
As an example, we will be using openebs-hostpath storageclass as a global persistence storageclass for the Kasten installation.
- Install Kasten.
- Verify that Kasten has been installed correctly.
Command
Output
Create VolumeSnapshotClass#
Whenever Kasten identifies volumes that were provisioned via a CSI driver, it will search for a VolumeSnapshotClass with Kasten annotation for the identified CSI driver. It will then utilize this to create snapshots.
Create a VolumeSnapshotClass with the following yaml:
Validate Dashboard Access#
Use the following kubectl command to forward a local port to the Kasten ingress port or change the 'svc' type from ClusterIP to NodePort to establish a connection to it.
note
By default, the Kasten dashboard is not exposed externally.
- Forward a local port to the Kasten ingress port.
or
- Change the 'svc' type as NodePort.
In this example, we have changed the 'svc' type to NodePort.
Command
Output
Command
Output
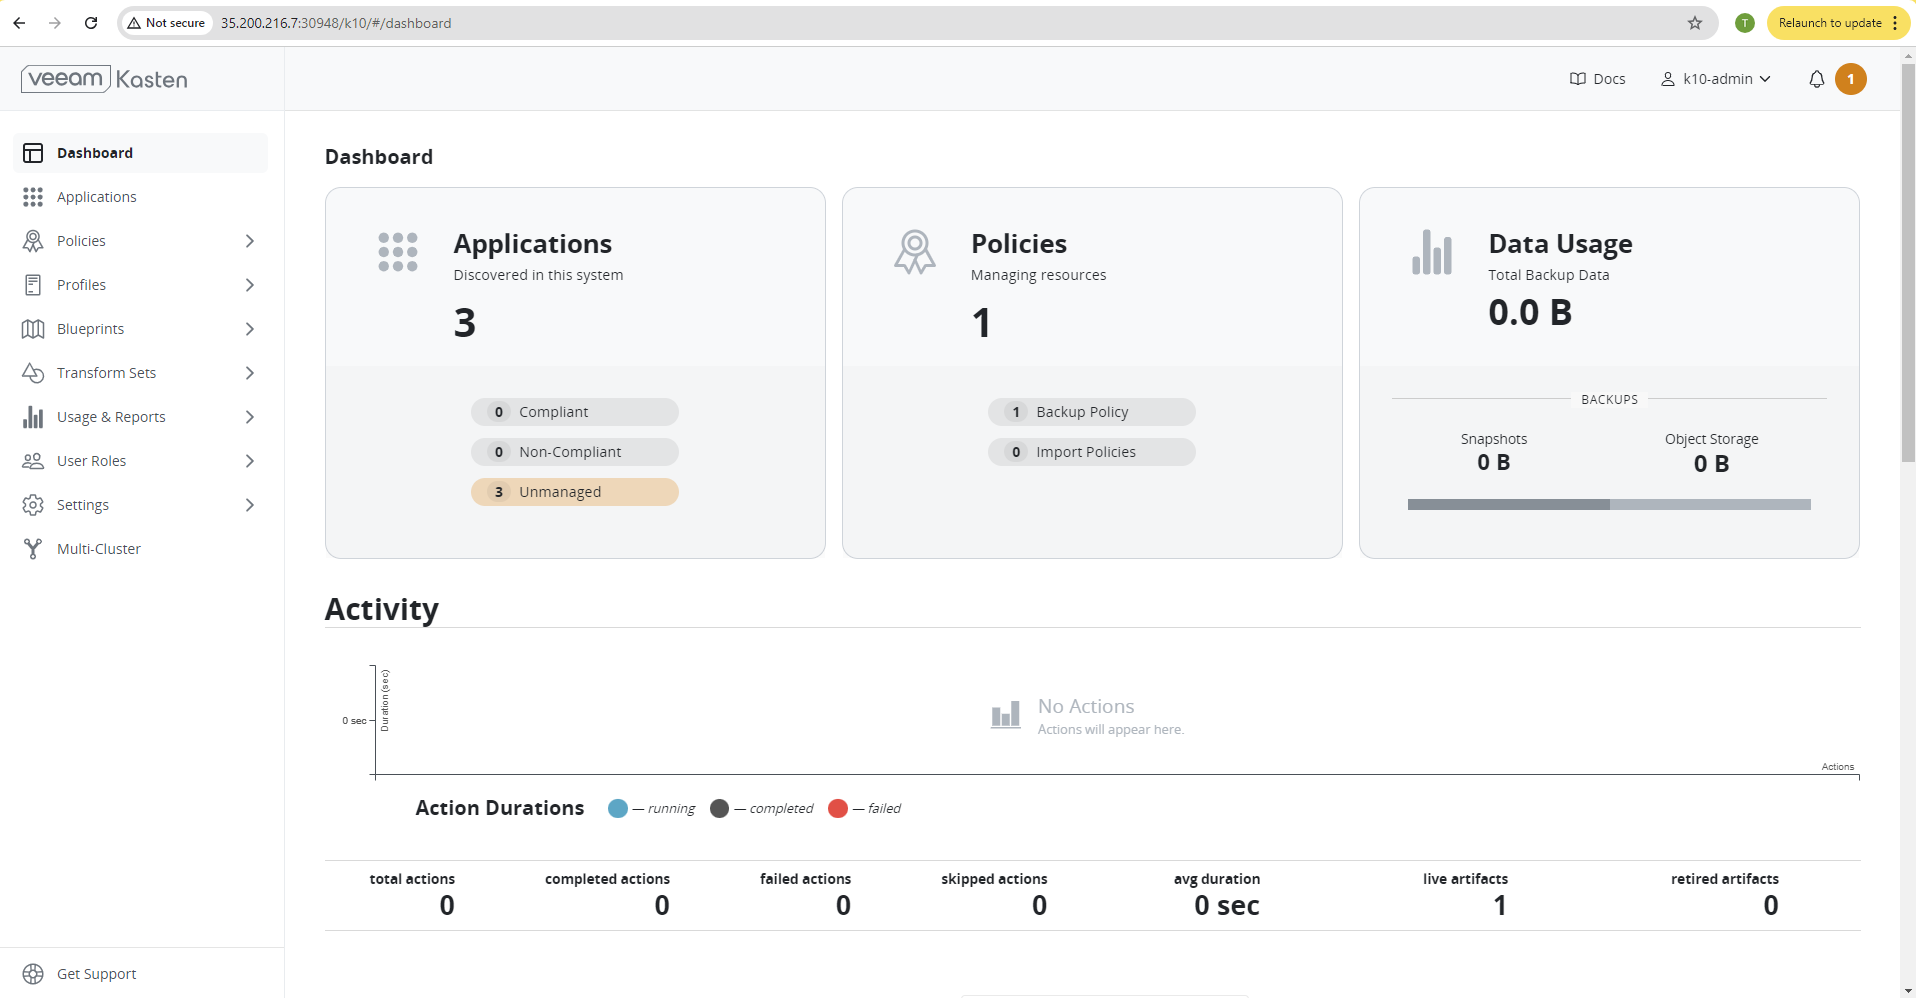
Now, we have the dashboard accessible as below:
Add s3 Location Profile#
Location profiles help with managing backups and moving applications and their data. They allow you to create backups, transfer them between clusters or clouds, and import them into a new cluster. Click Add New on the profiles page to create a location profile.

The GCP Project ID and GCP Service Key fields are mandatory. The GCP Service Key takes the complete content of the service account JSON file when creating a new service account. As an example, we will be using Google Cloud Bucket from Google Cloud Platform (GCP). Refer to the Kasten Documentation for more information on profiles for various cloud environments.
important
Make sure the service account has the necessary permissions.
Application Snapshot - Backup and Restore#
From Source Cluster#
In this example, We have deployed a sample Nginx test application with a Replicated PV Mayastor PVC where volume mode is Filesystem.
Application yaml
PVC yaml
Command
Output
Command
Output
Sample Data
Applications from Kasten Dashboard#
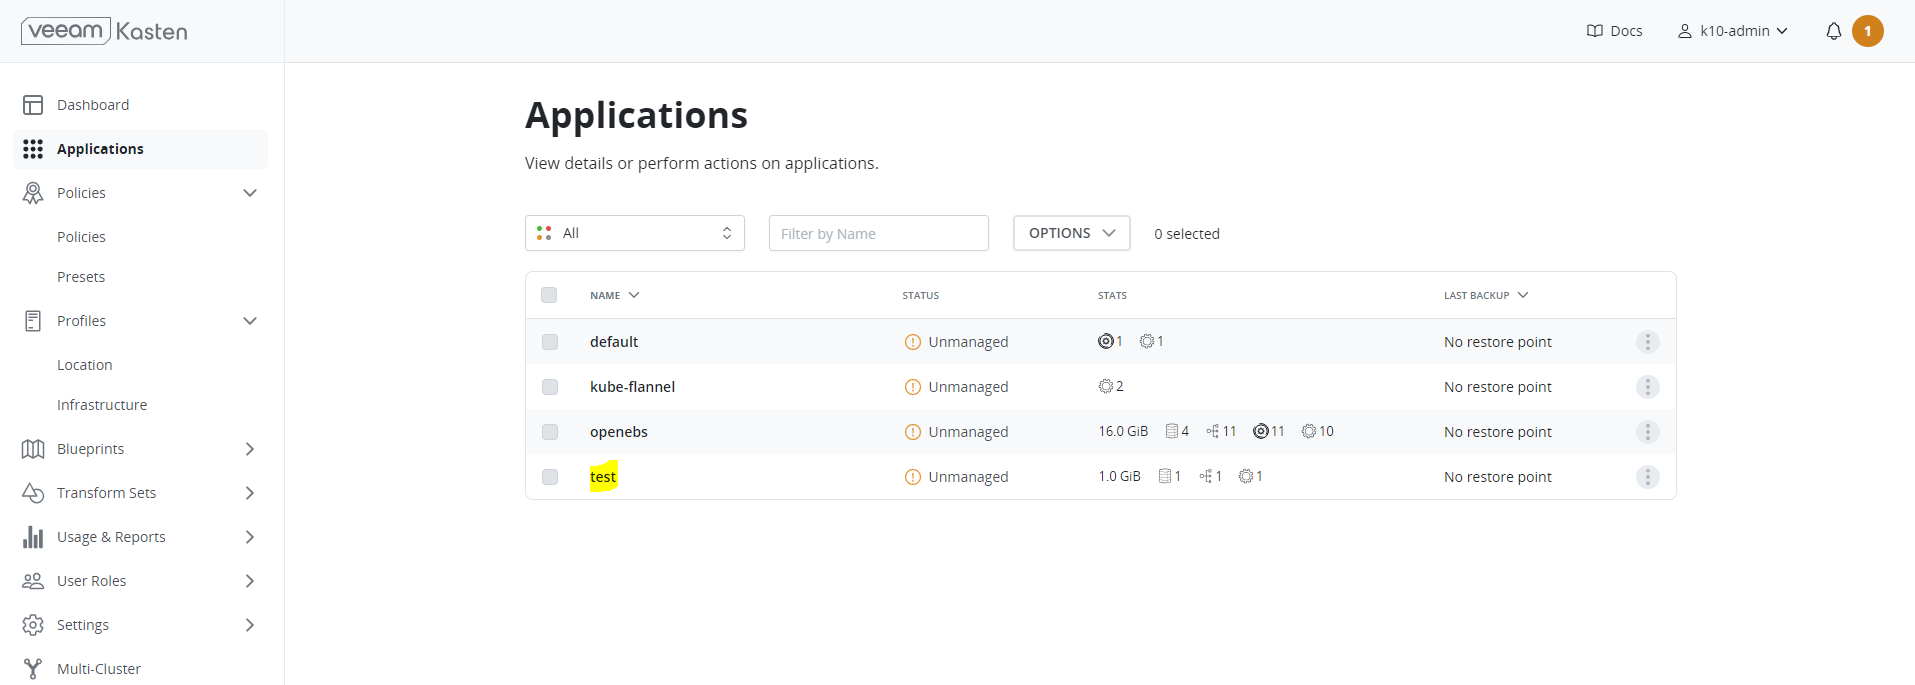
By default, the Kasten platform equates namespaces to applications. Since we have already installed the applications, clicking the Applications card on the dashboard will take us to the following view:
Create Policies from Kasten Dashboard#
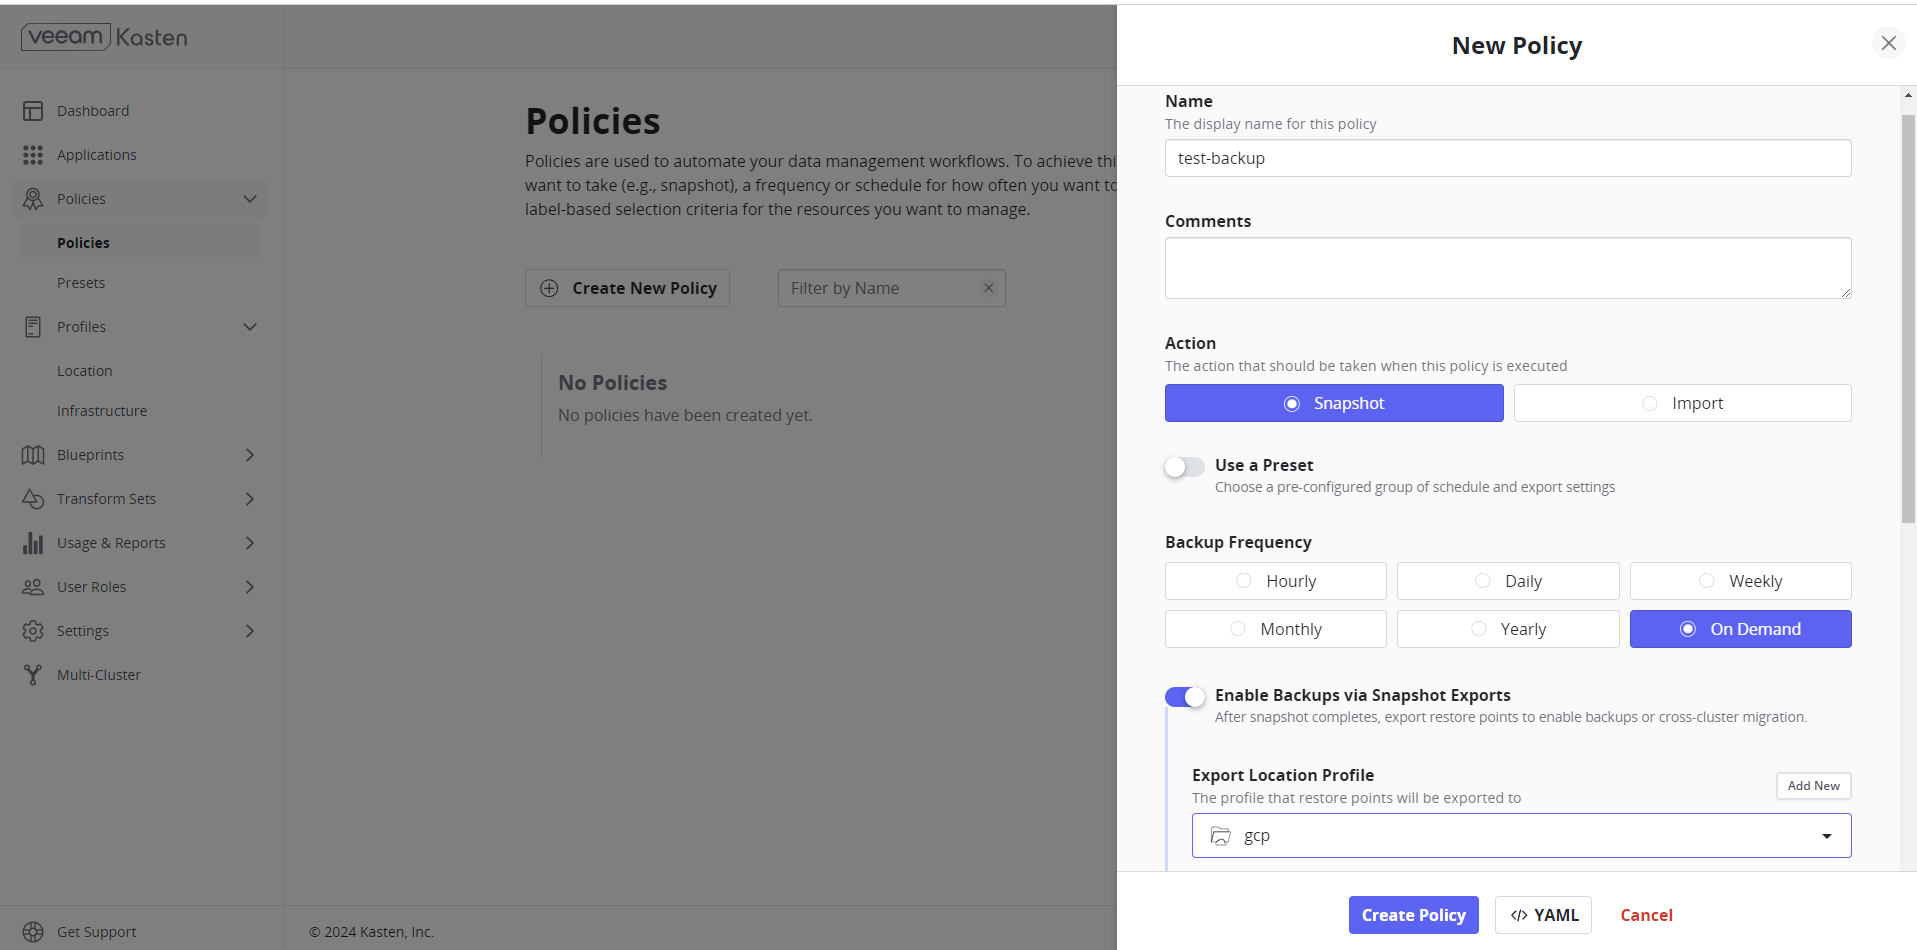
Policies are implemented in Kasten to streamline/automate data management workflows. A section on the management of policies is located adjacent to the Applications card on the primary dashboard. To accomplish this, they integrate actions that you wish to execute (e.g., snapshots), a frequency or schedule for how often you want to take that action, and selection criteria for the resources you want to manage.
important
Policy can be either created from this page or from the application page. Users should “Enable backups via Snapshot exports” to export applications to s3.
- Select the application. In this example, it is “test”.
- Click Create Policy once all necessary configurations are done.
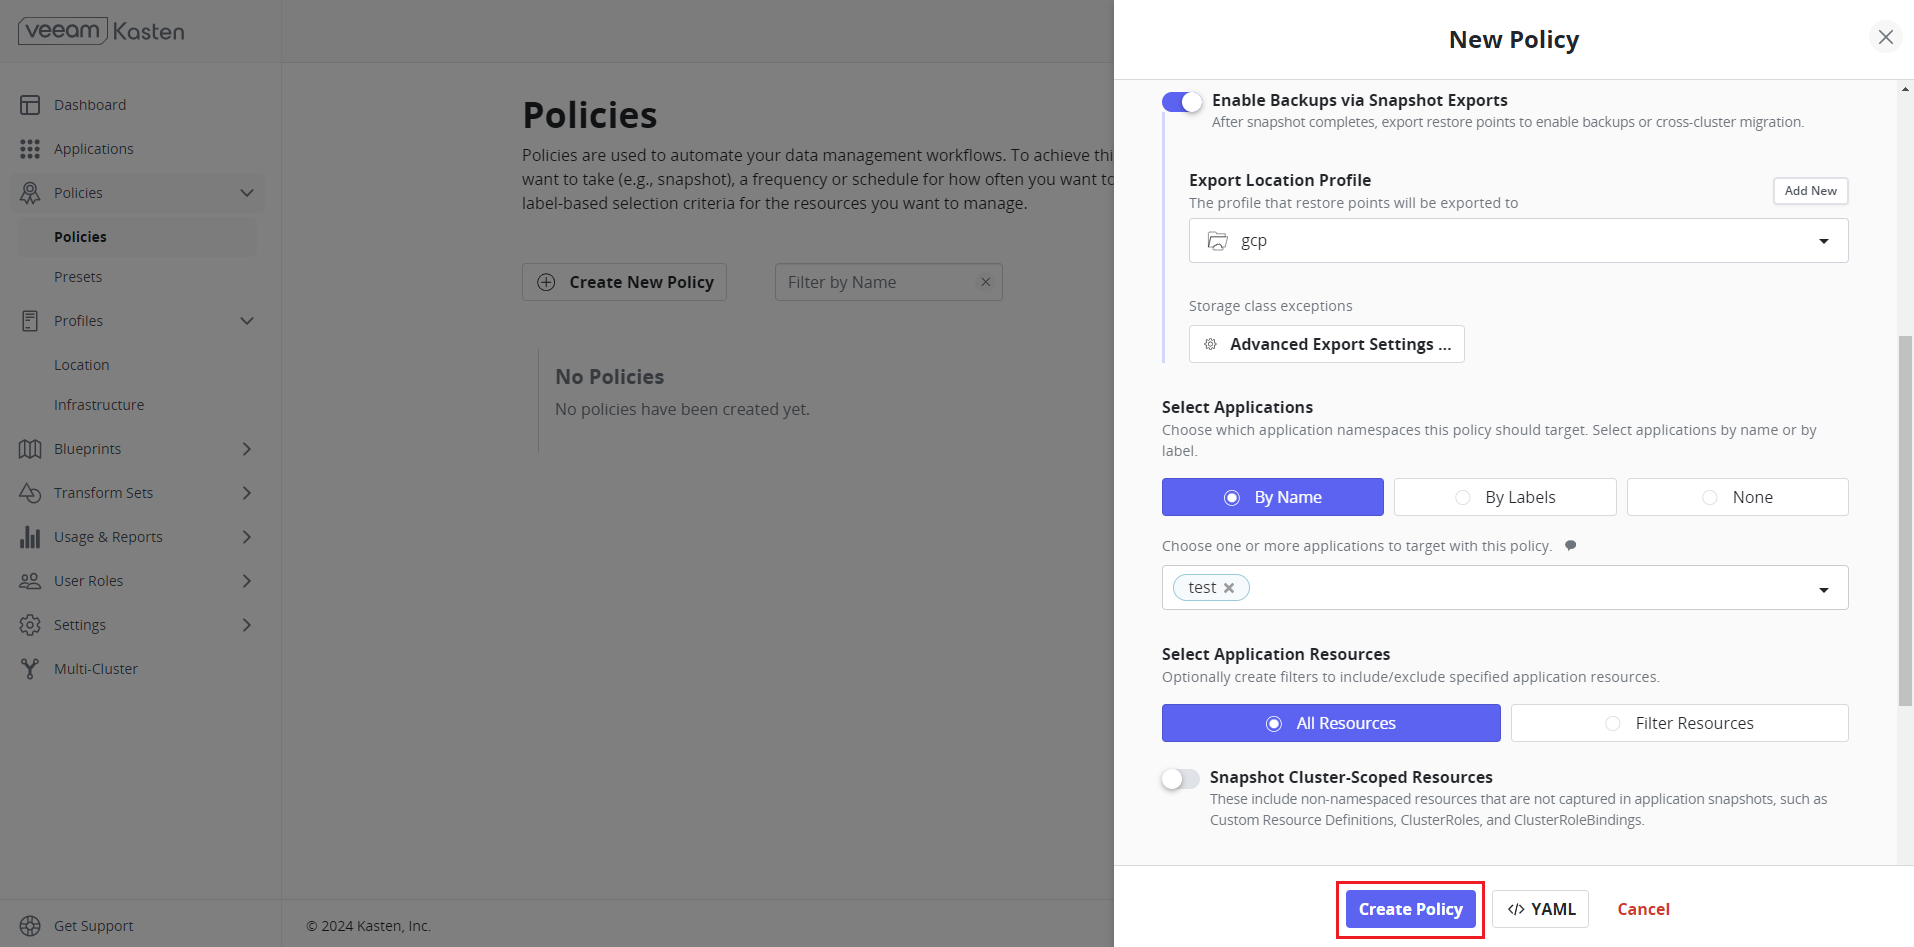
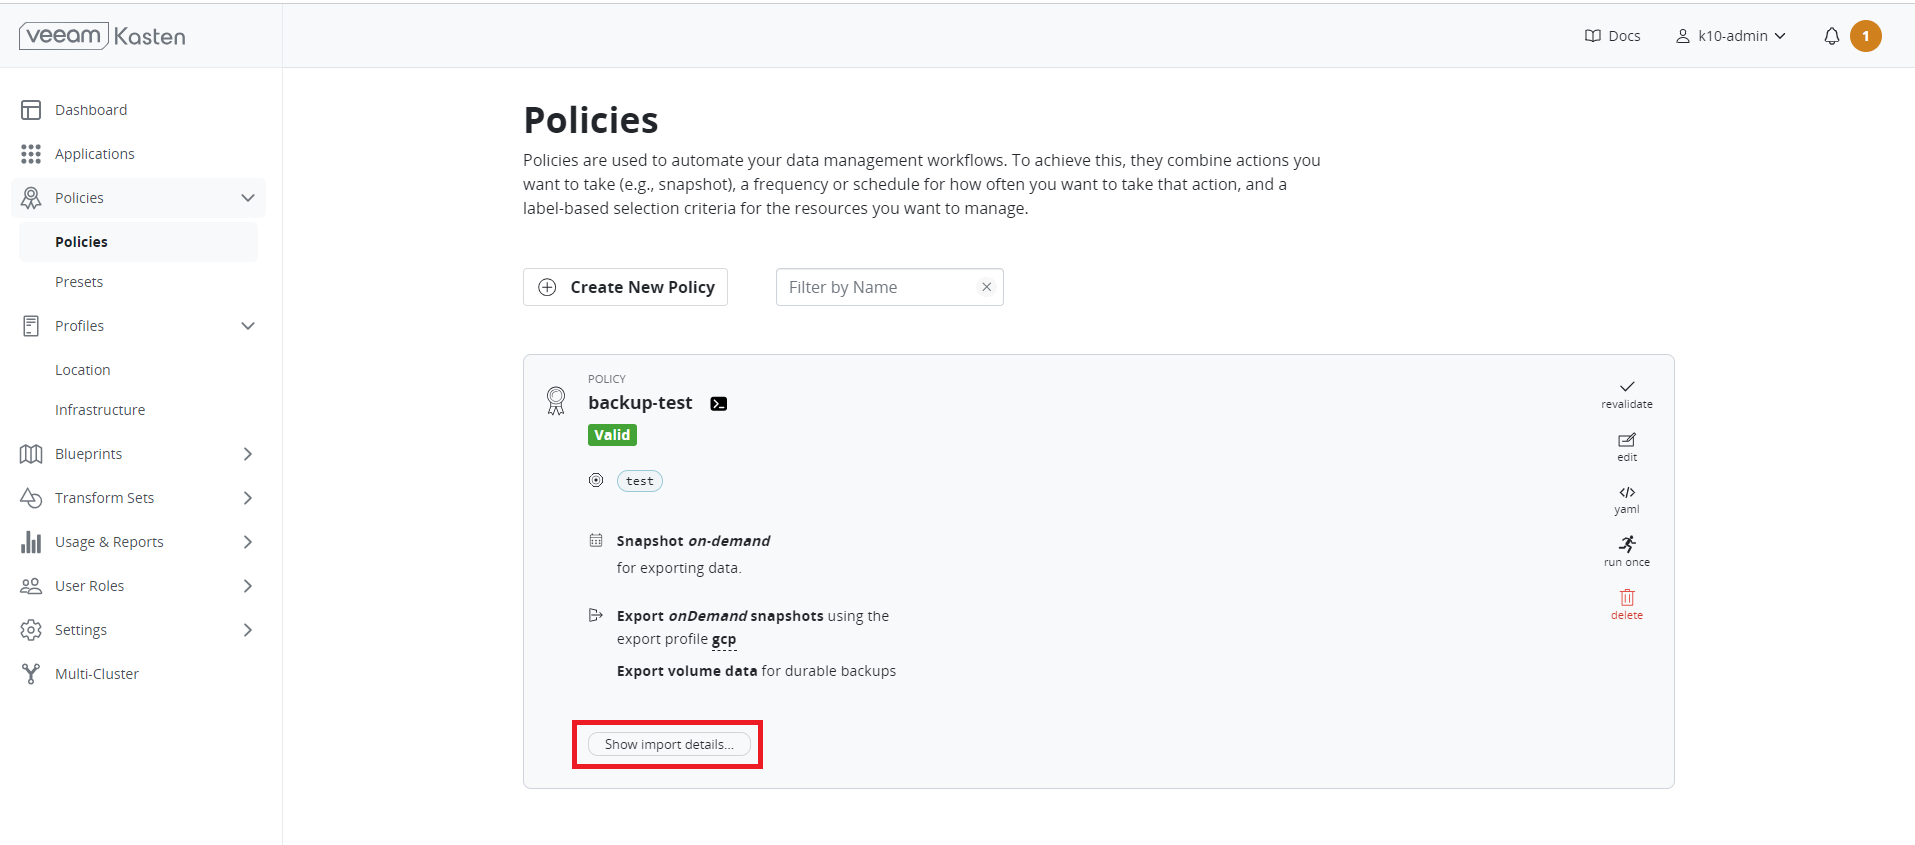
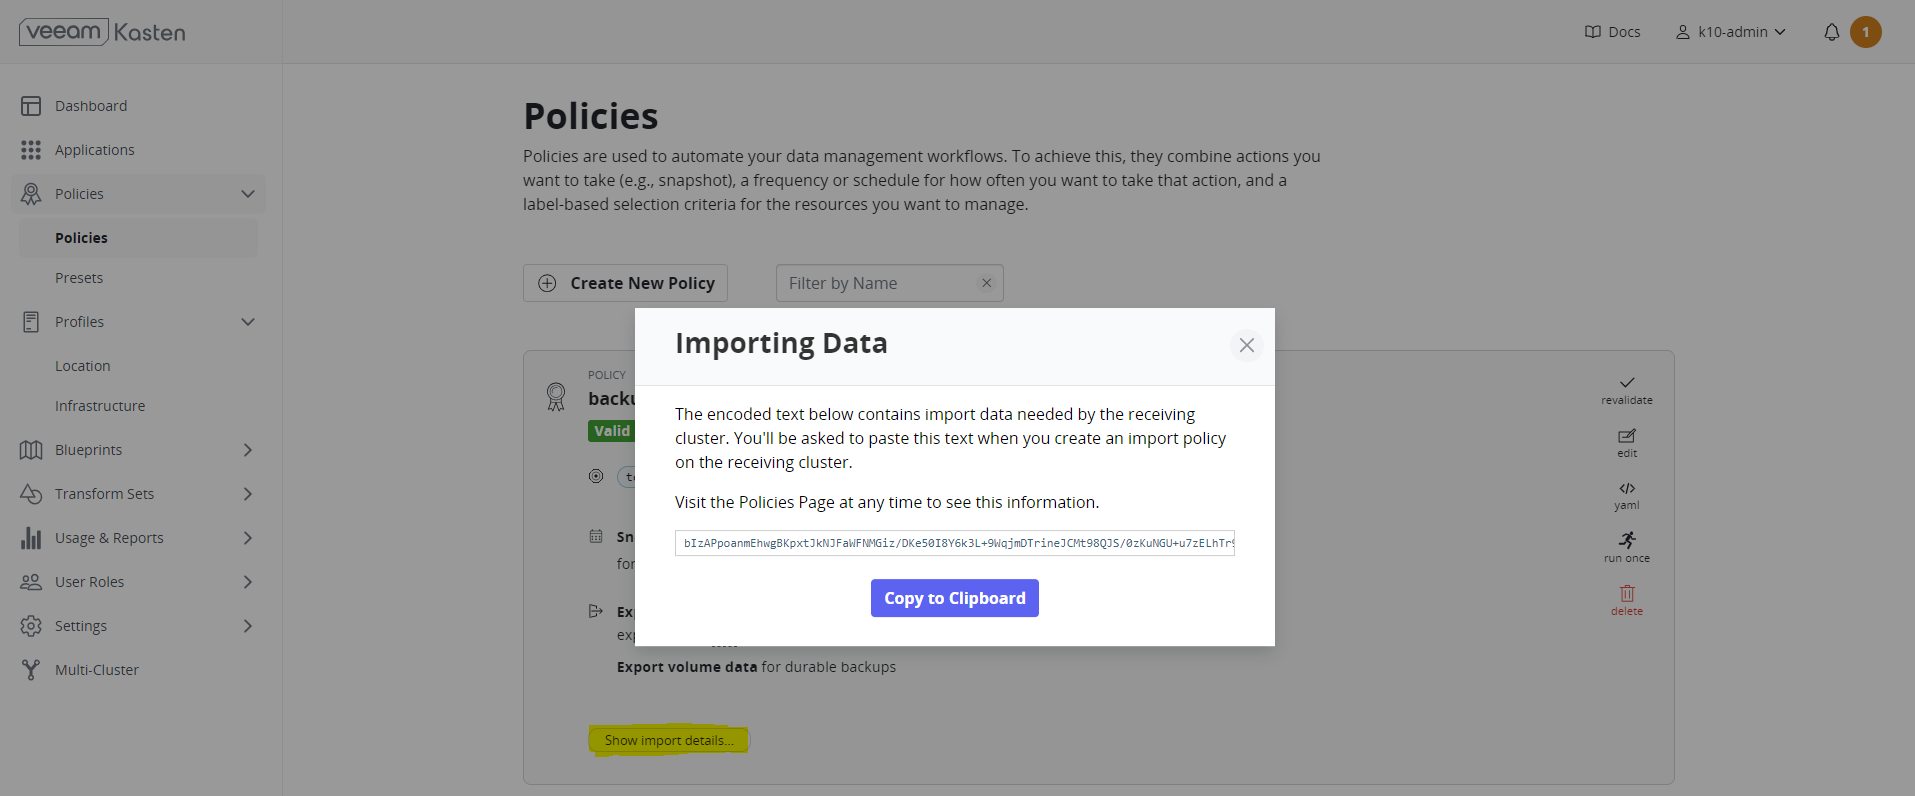
- Click Show import details to get the import key. Without the import key, users are unable to import this on the target cluster.
- When you create an import policy on the receiving cluster, you need to copy and paste the encoded text that is displayed in the Importing Data dialog box.
Backup#
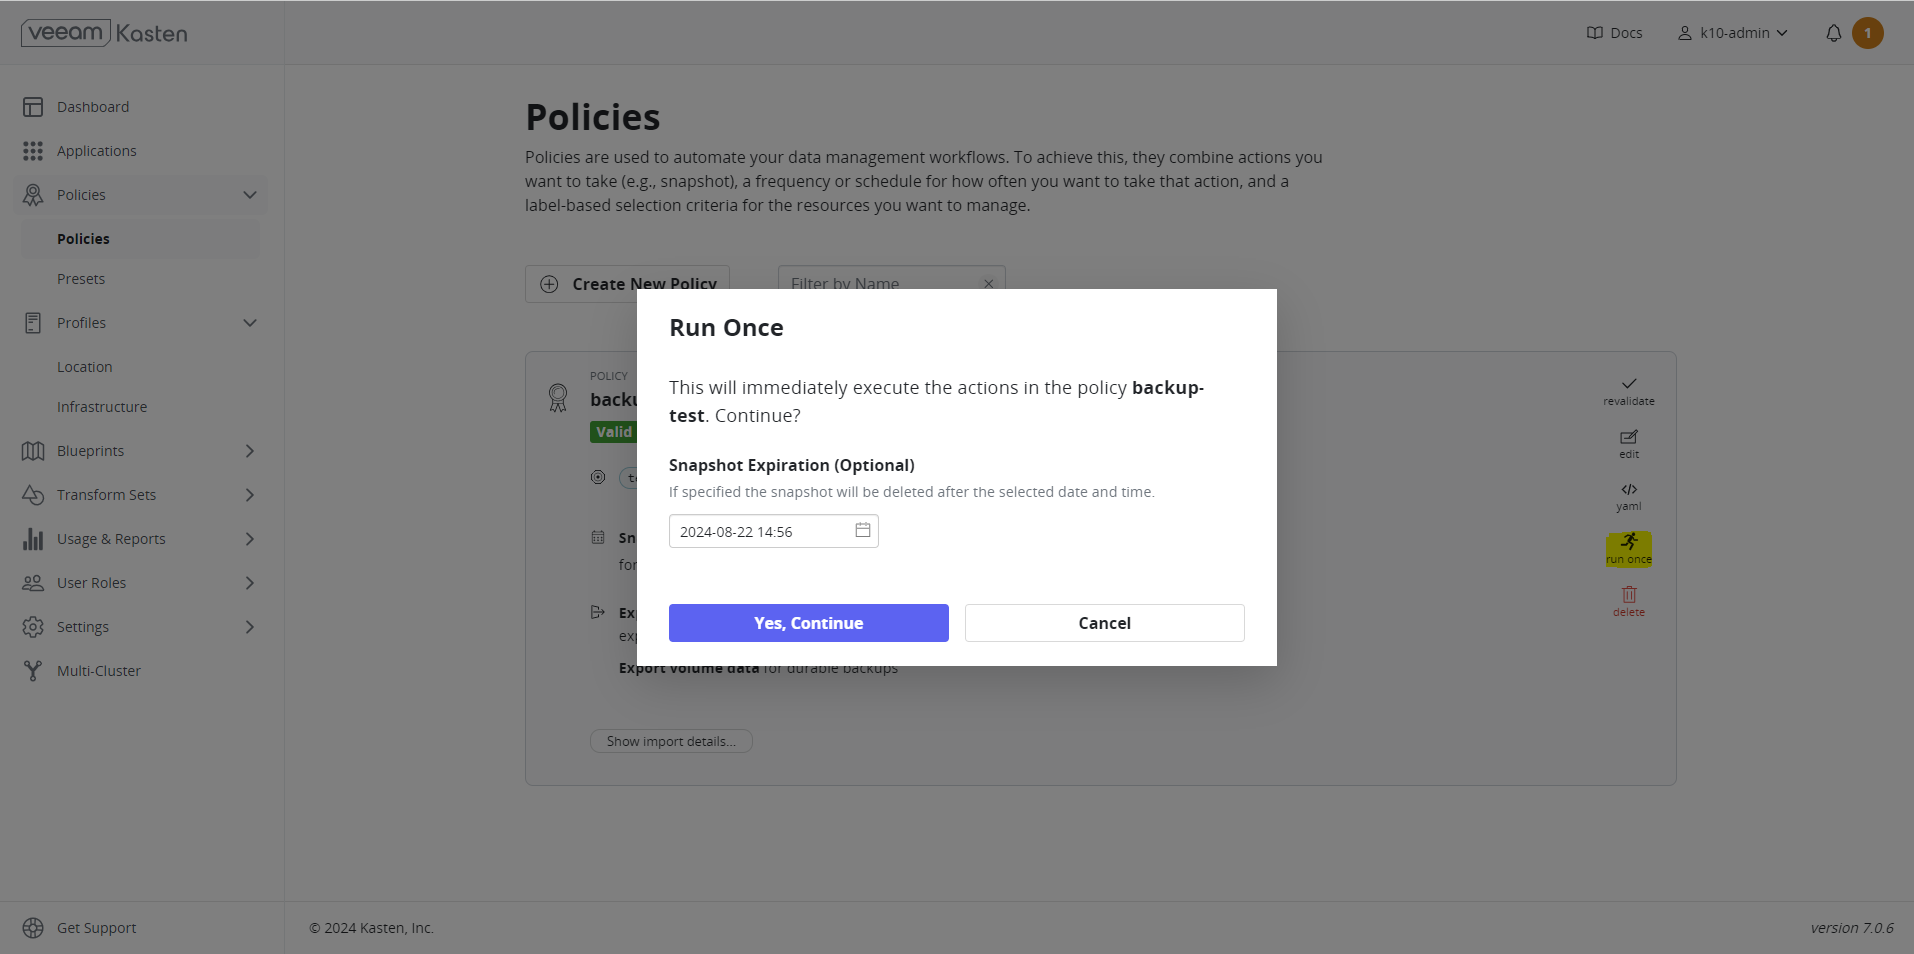
Once the policies have been created, it is possible to run the backup. In this scenario, we have created policies to run “on-demand”. A snapshot can be scheduled based on the available options. Example: hourly/weekly
- Select Run Once > Yes, Continue to trigger the snapshot. Backup operations convert application and volume snapshots into backups by transforming them into an infrastructure-independent format and then storing them in a target location (Google Cloud Bucket).
You can monitor the status of the snapshots and export them from the Dashboard. The backup had been successfully completed and exported to the storage location.
From Target Cluster#
Make sure that Replicated PV Mayastor has been installed, pools have been configured, and storageclasses are created (same as a backup cluster) before restoring the target cluster. Refer to the OpenEBS Installation Documentation for more details.
Make sure that Kasten has been installed, volumesnapshotclass is created, and the dashboard is accessible before restoring the target cluster. Refer to the Install Kasten section for more details.
note
The Location profile must be located in the exact same location as our backup, otherwise the restore would be unsuccessful.
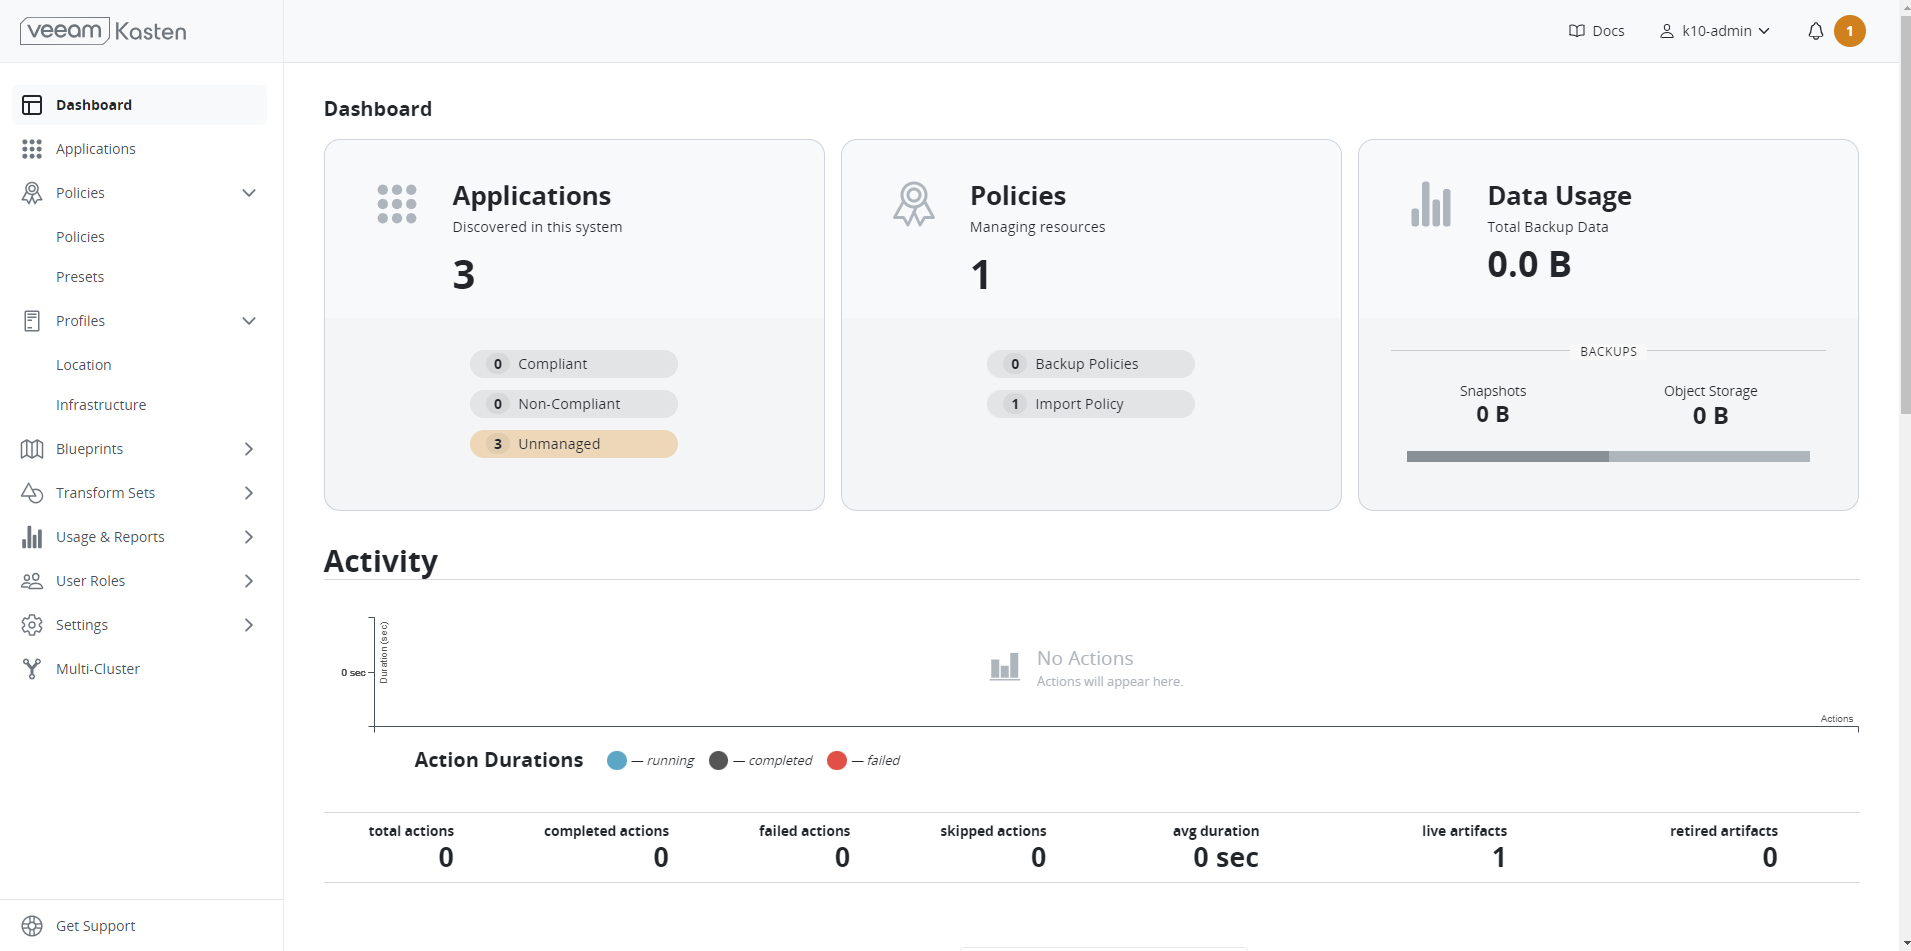
We have completed the backup process and followed the above configurations on the restore cluster. Therefore, the dashboard is now available for the target cluster.
Create Import Policy#
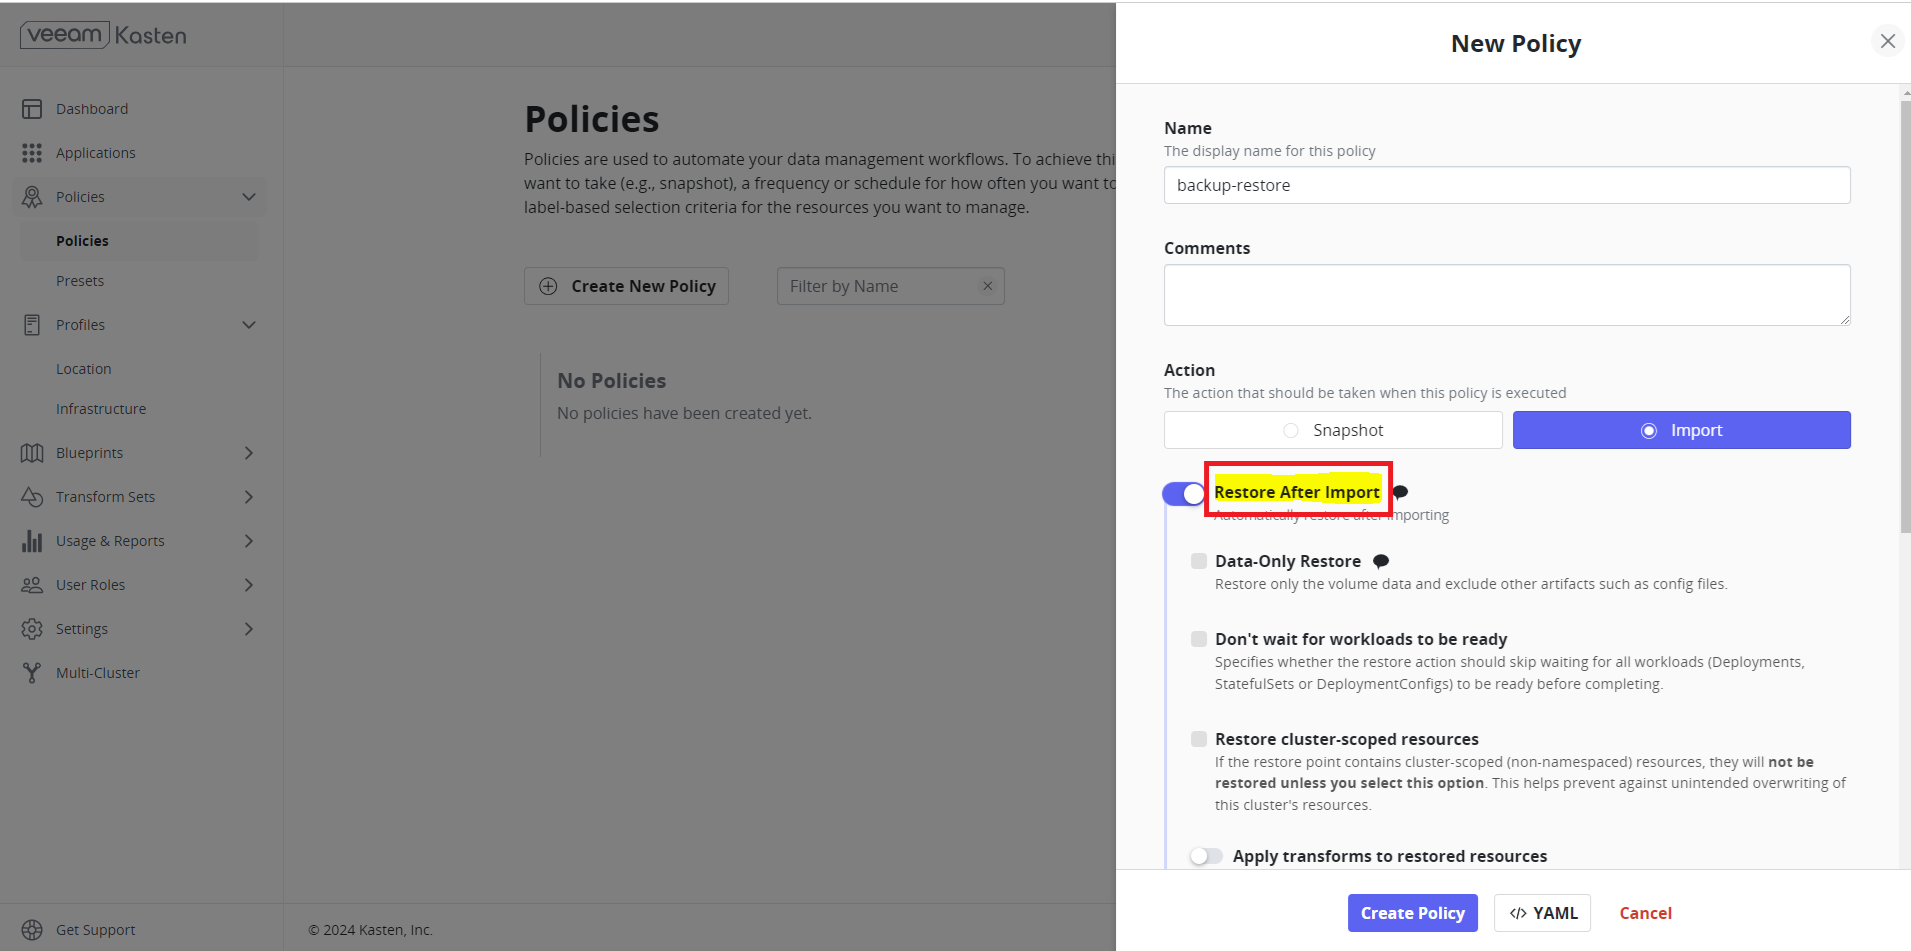
Create an import policy to restore the application from the backup. Click Create New Policy and enable Restore After Import to restore the applications once imported. If this is not enabled, you have to manually restore the applications from the import metadata available from the Dashboard.
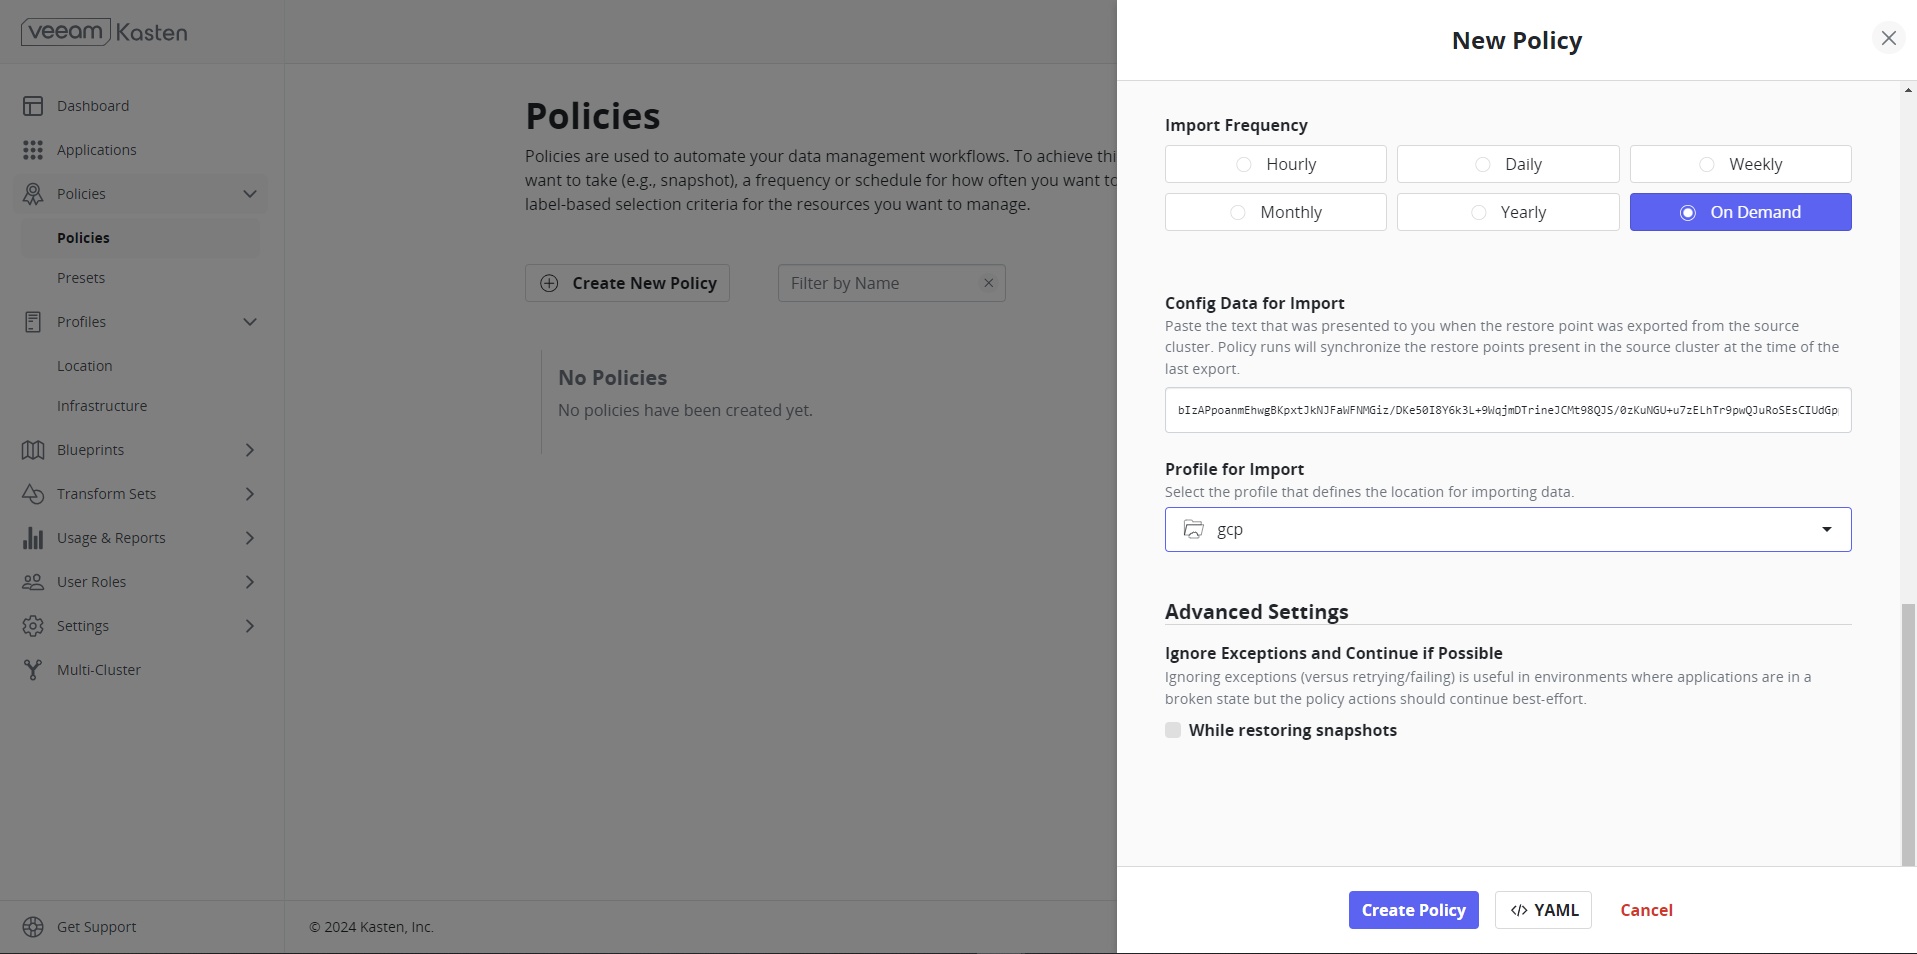
The policy is being developed with an on-demand import frequency. In the Import section of the configuration data paste the text that was displayed when the restore point was exported from the source cluster.
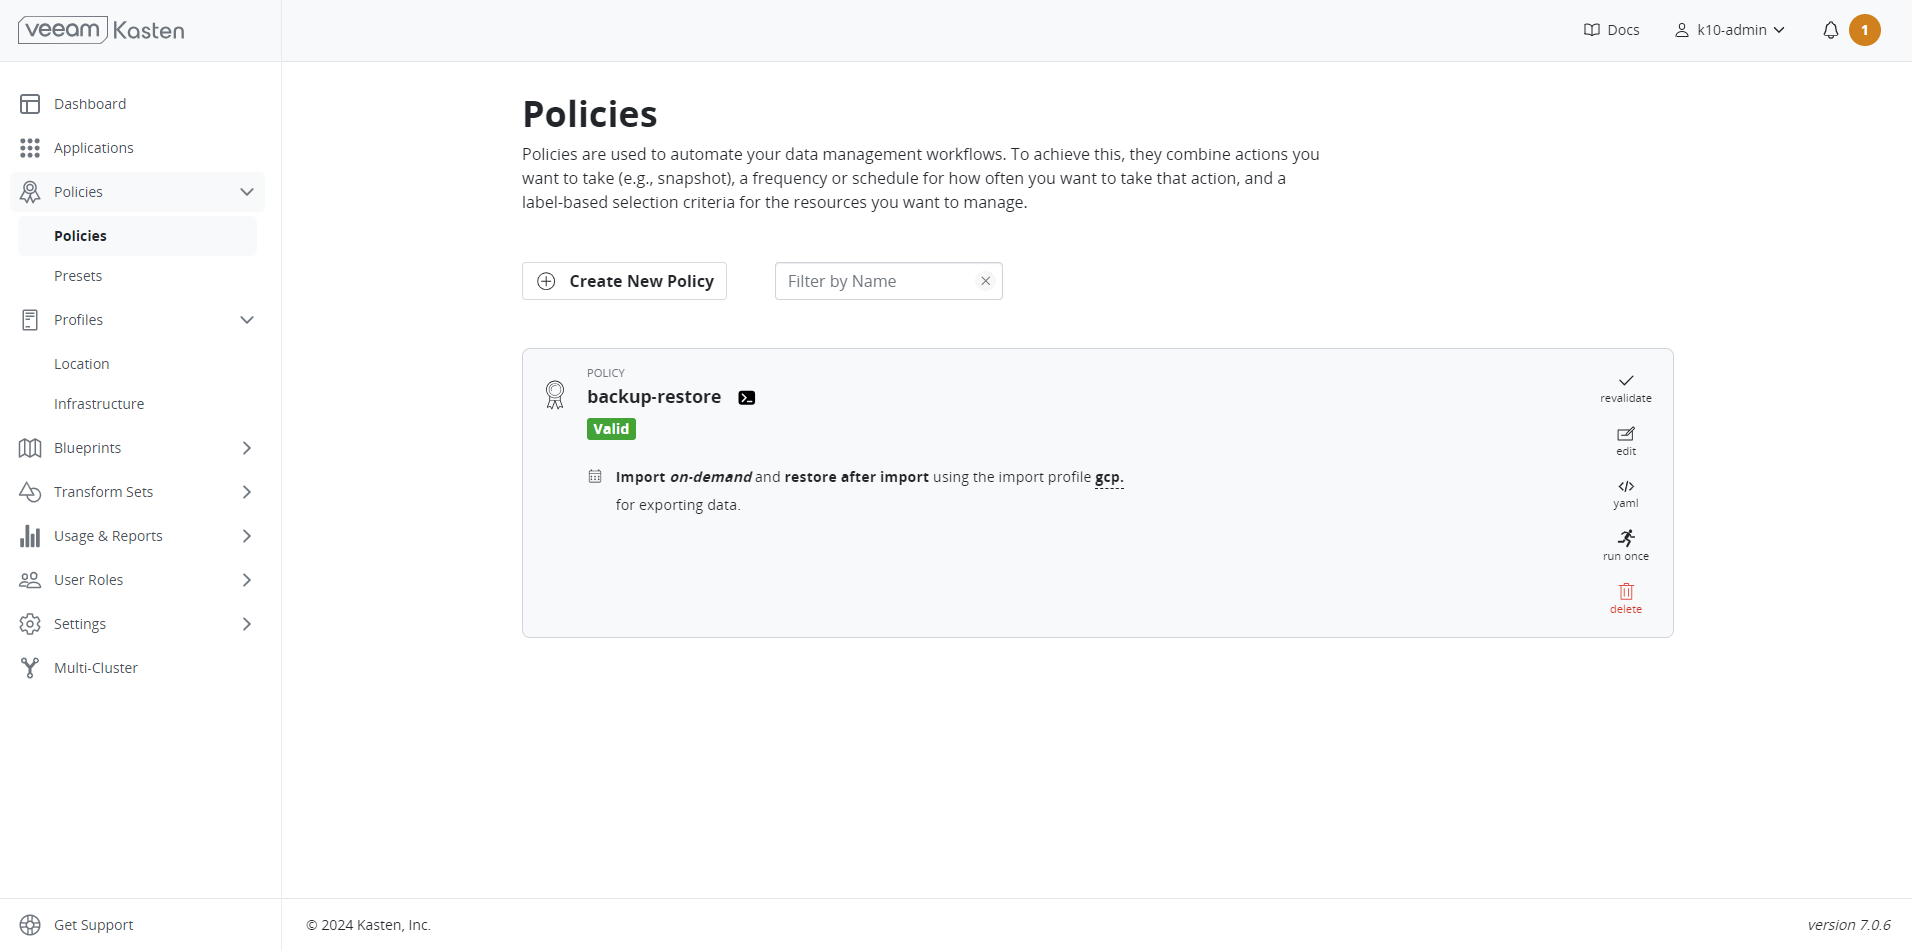
Click Create New Policy once all necessary configurations are done.
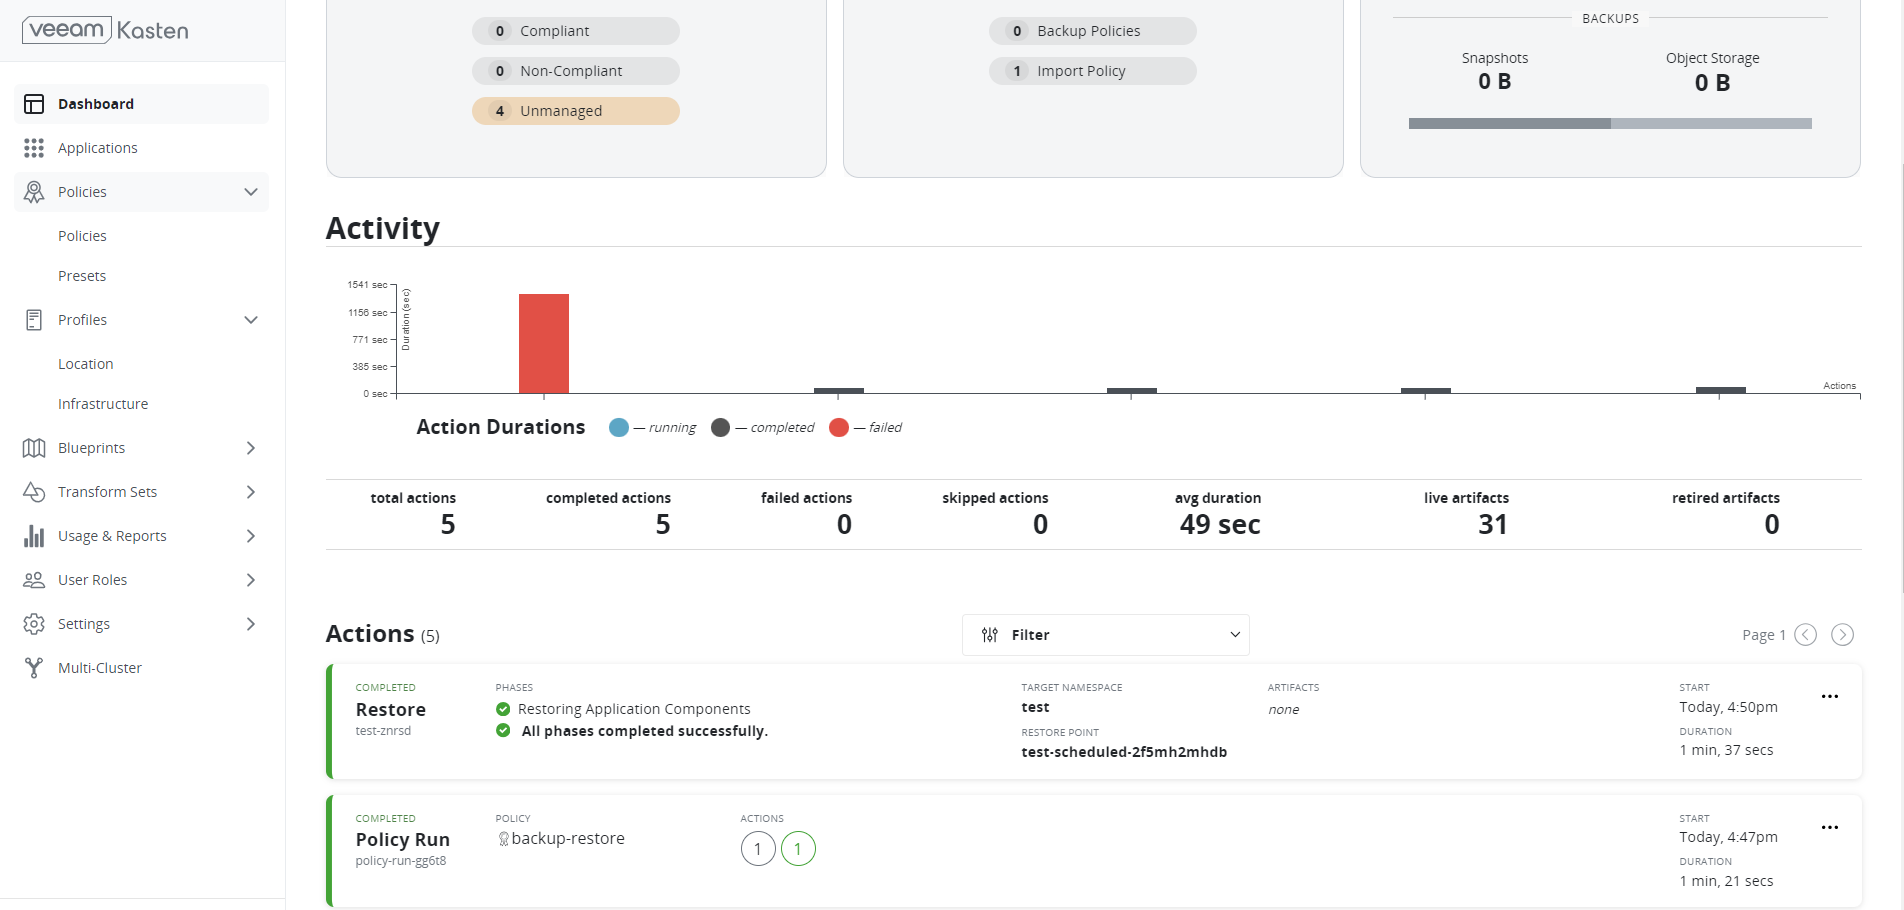
Restore#
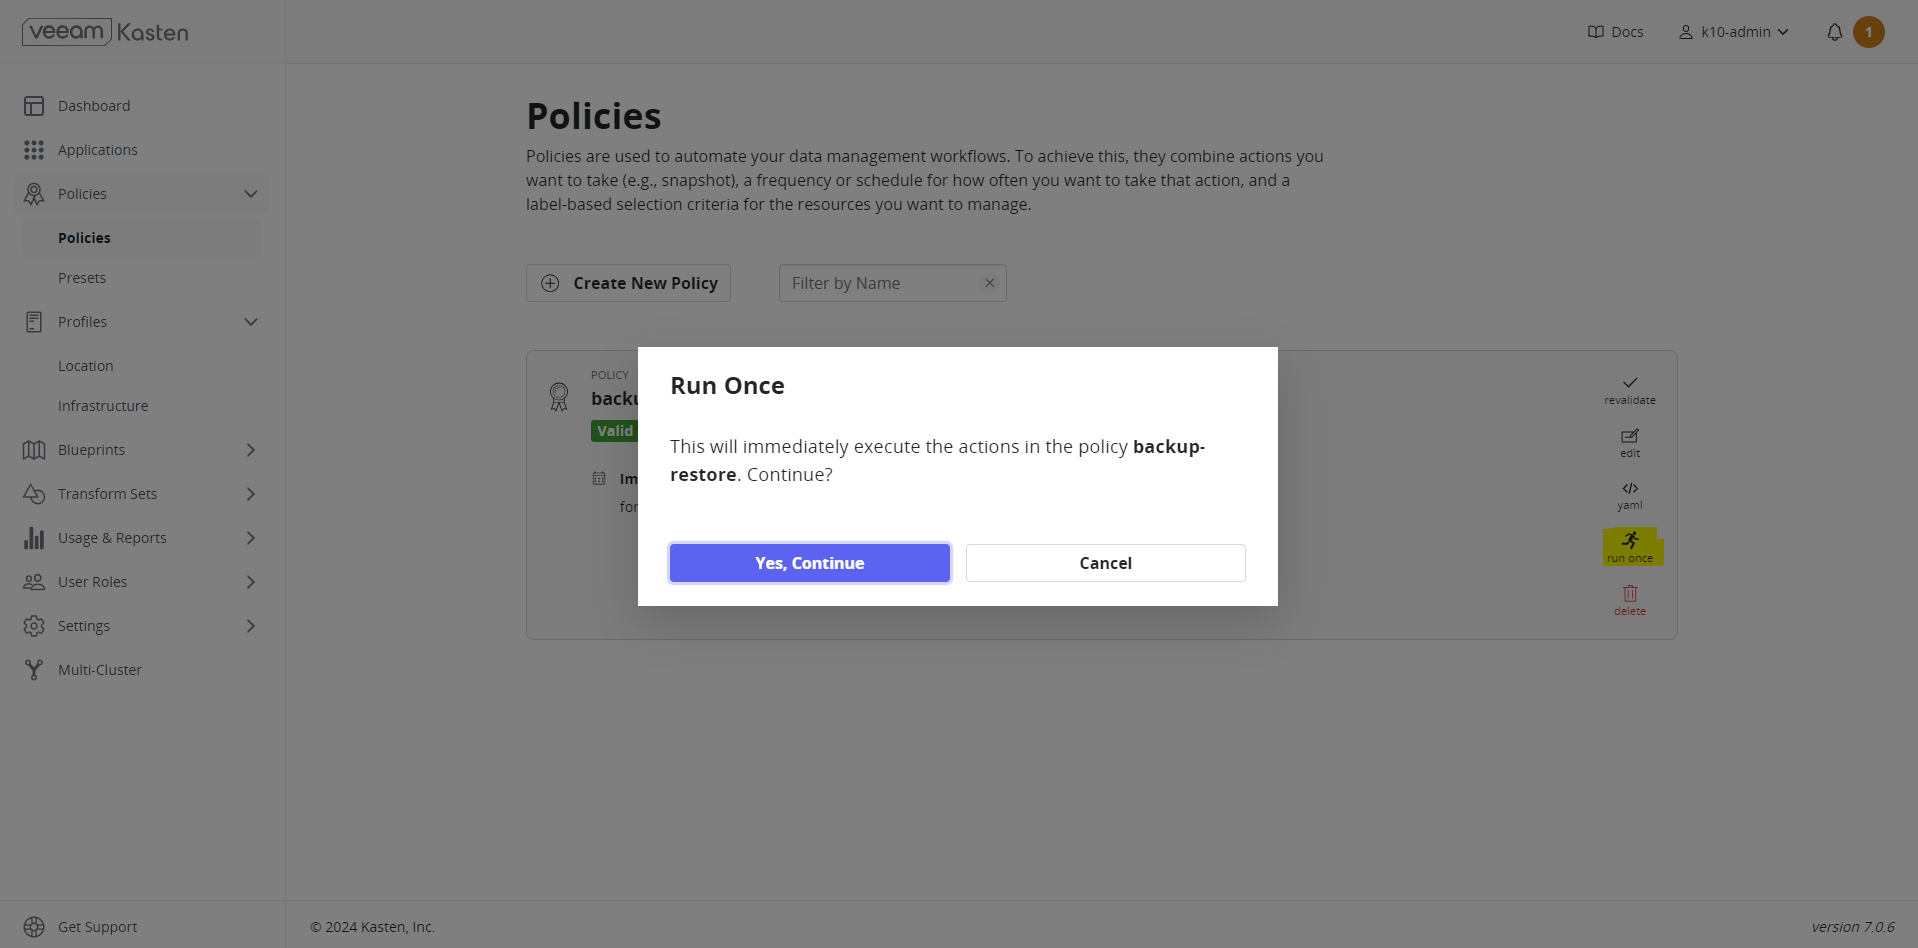
Once the policies are created, the import and restore processes can be initiated by selecting Run Once.
Restore has been successfully completed.
Verify Application and Data#
Use the following command to verify the application and the data.
Command
Output
Command
Output
Sample Data
The PVC/Deployment has been restored as expected.


